Advance Sewing Techniques and Tips From an Expert
No matter how long you have been sewing, there is something special about the opportunity to learn new tips and tricks.
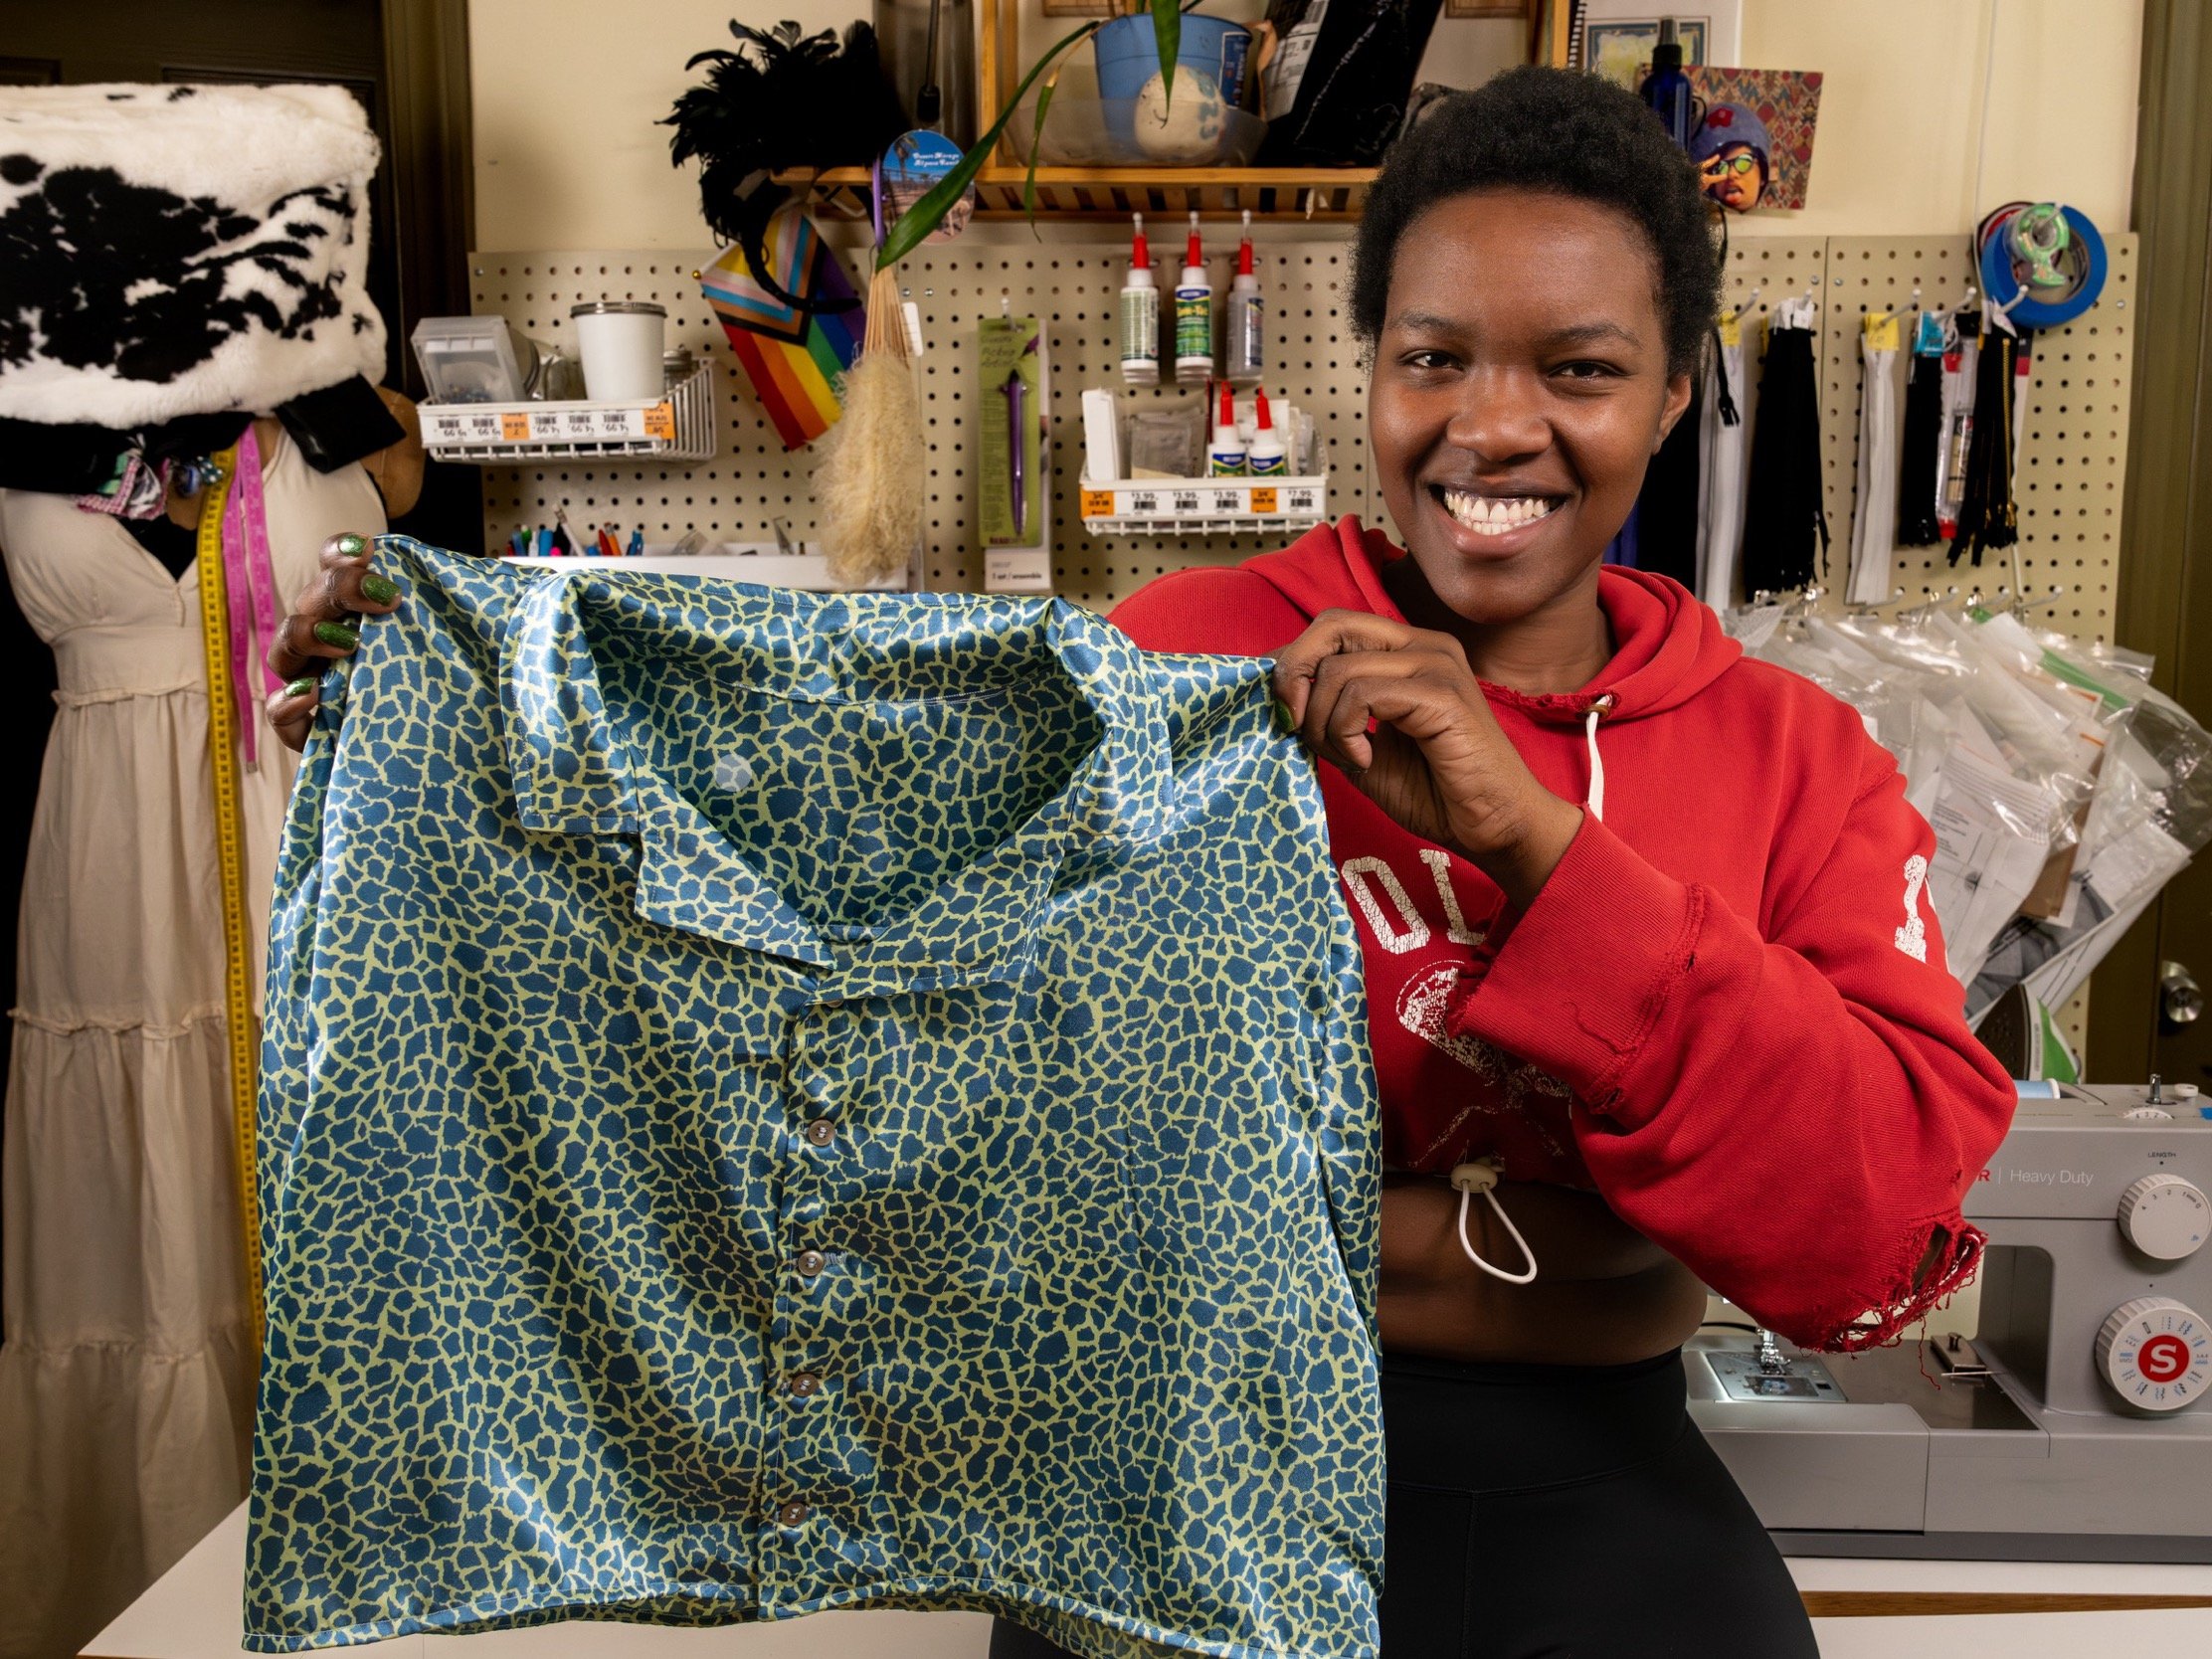
Tira Cooks
5/14/20257 min read
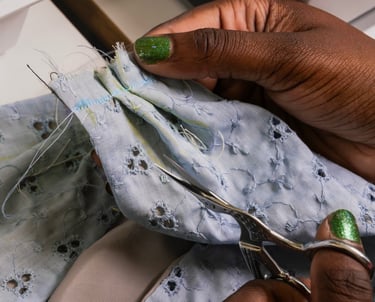
Sewing Bias Binding
Fabric strips cut on the bias to create a decorative or functional finish.

Every seamstress needs a personal arsenal full of sewing tips for various projects.Sewing is a fullproof skill that improves with time, in return making your garment look more professional. When I first started sewing, I compared my creations to store-bought clothing. Learning about the seam finishes by commercial companies was invaluable, as I was able to incorporate those techniques into my own garments. With these advance methods I became a better sewer, and my clothes began to look expensive and more couture. I love when a passersby never suspect that the brand is me, the hands, and the creator behind it all. There are often shocked, and I am too, sometimes, when I finish a project. I am always proud of what I sew, and you can be too. Now, let's get started!
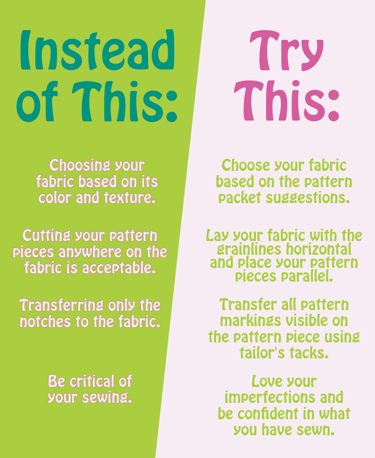
DO'S & DON'TS OF SEWING
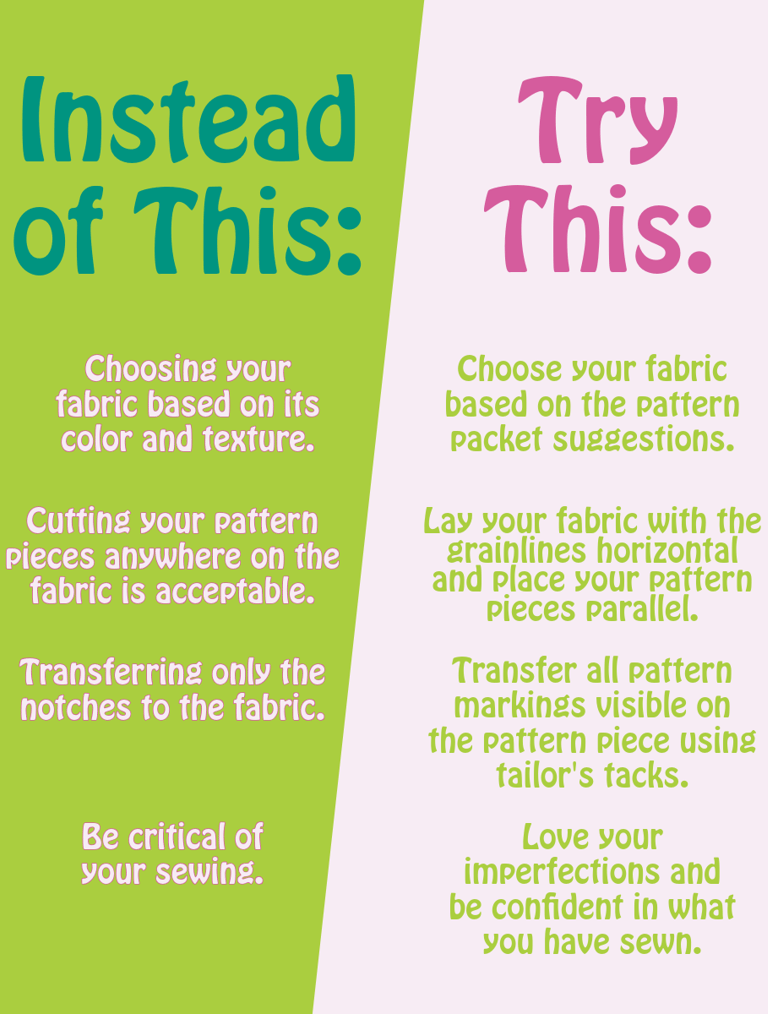
We have all been there doing something you had no business doing, but sometimes you want to break the rules and do it anyways. Unfortunately, since sewing is a technical skill, there are some rules you just can't break. They will constantly ruin your project outcome, and you will stay in frustration. So here is a quick chart of dos and don'ts you just can't avoid in sewing!
Do's and Don'ts of Sewing
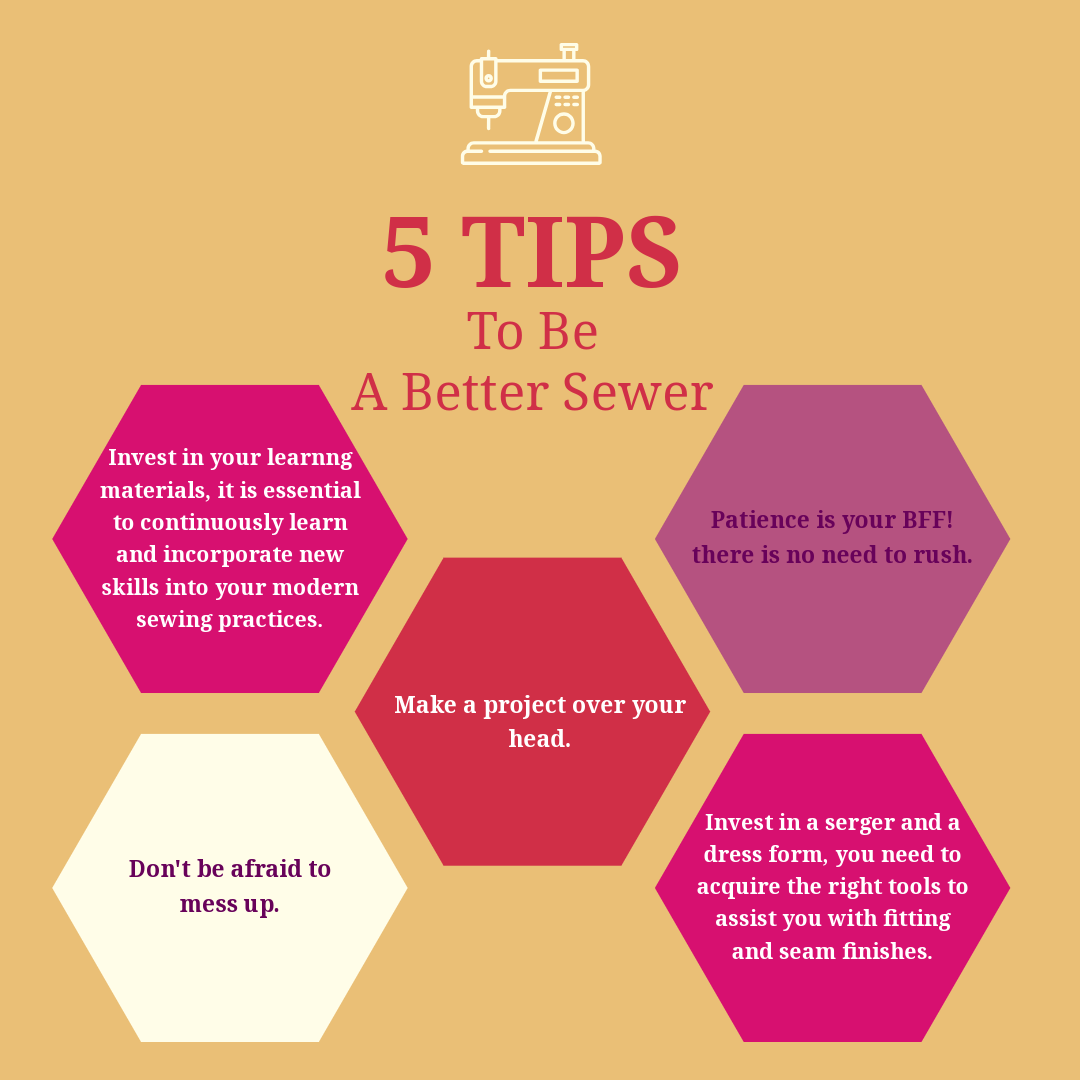
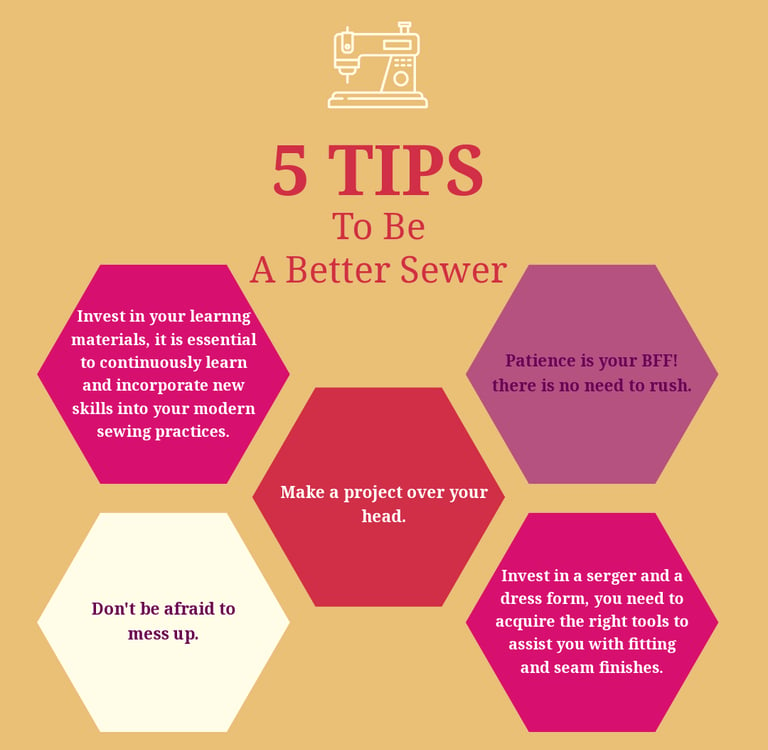
5 Tips To Be a Better Sewer
Tip 1: Invest in your learning materials Sewing techniques evolve over the decades, so it is essential to continuously learn and incorporate new skills into your modern sewing practices. Sewing is both inspirational and experimental, and expanding your knowledge enhances the depth of your garments. Everyone has access to a local library that offers books on sewing and fashion. Utilize these resources; they are a treasure trove of sewing techniques that you won't learn unless you actively seek out these books. Consider taking a class, asking someone in your community to teach you, or exploring the wealth of information available on YouTube, which I affectionately refer to as the University. It is never too late to learn something new about sewing. We all have different approaches to the same goal: finishing our garments.
Tip 2: Invest in a serger and a dress form If you are already creating outfits that you want to showcase and feel good about, you don't want to shortchange yourself. You need to acquire the right tools to assist you with fitting and seam finishes. A dress form is essential if you do not have help for fittings. When you need to hem or take in inches at the waist, it is nearly impossible to do so on yourself, which is where a dress form comes in handy. You can either buy them small or choose one that closely matches your body measurements. A serger will not only close up the seams in a more professional manner but also allow the seams to lay flat against your skin, preventing a bulky appearance. Both tools are essential for making your garments look more professional.
Tip 3: Patience is your BFF There is no need to rush; the goal is to avoid mistakes and become more proficient. I personally adopted the concept of not sewing on the same day that I cut out my patterns. When I start a new project, I reserve a day to cut out all my pieces. Then, when I am ready to sew, if I don't have time for a full day, I set aside just 10 minutes each day to work on it.
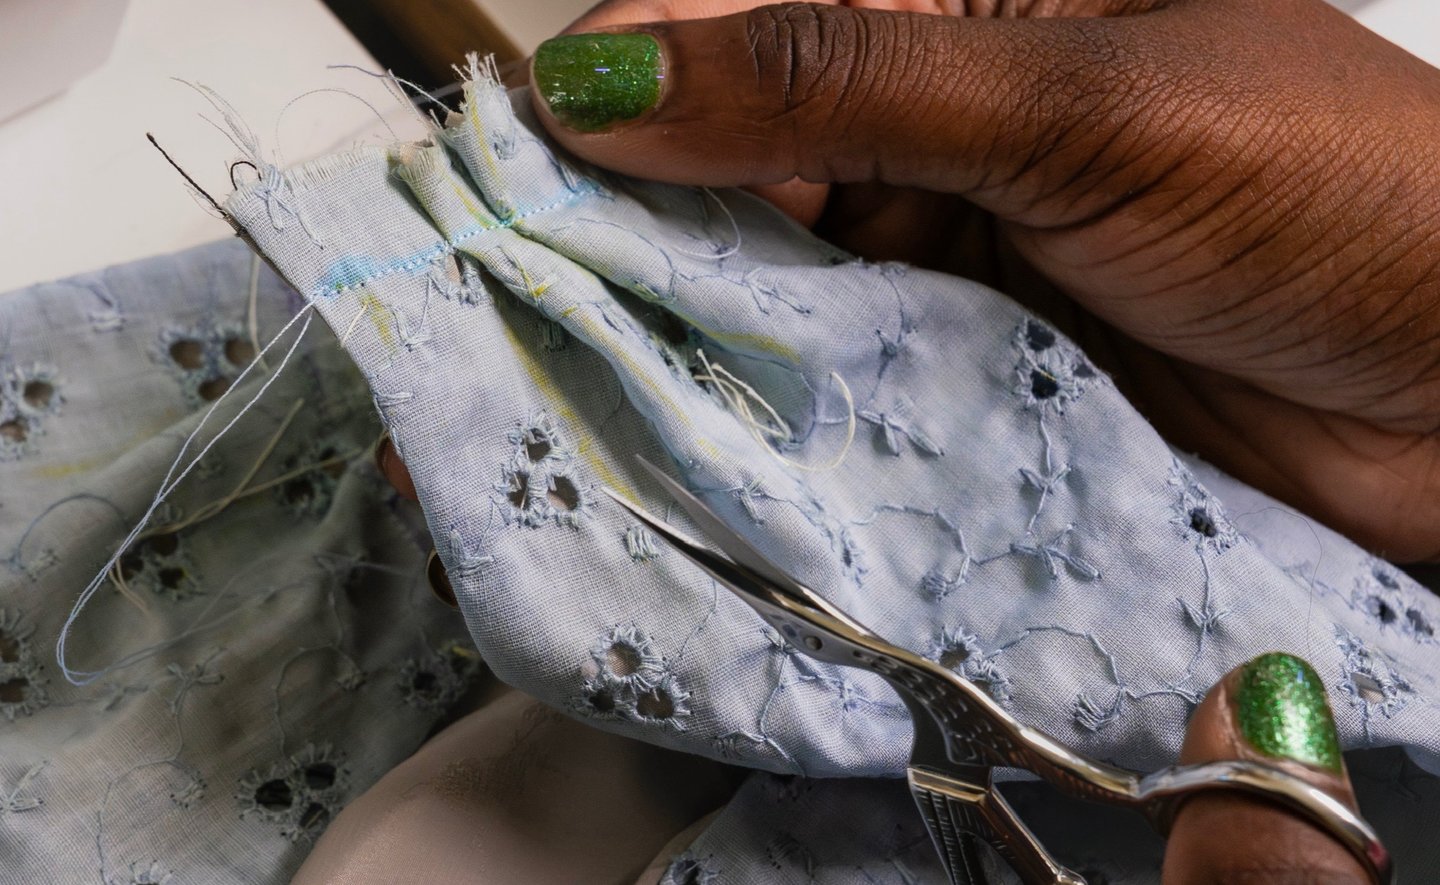
Tip 4: Don’t be afraid to mess up A famous quote by Alexander McQueen states, "You can only go forward by making mistakes." It is important to embrace all of your mistakes; the more you lean into failure, the more success you will achieve. Grab your seam ripper and carefully unpick your mistakes. Don't feel guilty about walking away and closing up shop for the day. Taking a step back from your project is necessary for your brain to reset, so when you return, you can gain a clearer understanding of what went wrong in the sewing process.
Tip 5: Make a Project over your head Sewing patterns are categorized by the skill level required to complete the garment. Sometimes, it is beneficial to challenge yourself by attempting projects that exceed your current skill level. You may take longer and find yourself reaching for the seam ripper more frequently, but through these mistakes, you will learn valuable lessons that cannot be found in a book. For instance, when making a pencil skirt, you will recall similar steps to sewing a gathered circle skirt. The advantageous aspect of sewing is that many techniques are repetitive, allowing you to become familiar with them and retain your knowledge.
How To Become a Better Sewer?
5 TECHNIQUES YOU NEED TO MASTER
To advance in sewing, it is essential to master these five techniques:
Seam Finishes: Such as zigzag, overlocking, and edge stitching, are essential for creating clean and durable seams.
Darts: Are fundamental techniques for shaping fabric and creating fit and form in garments.
Princess Seams: Creates a curved, sculpted shape, often used in the bust area.
Bias Binding: Using fabric cut on the bias to create a decorative or functional finish.
Understitching: Helps to lay seams flat and prevents them from rolling.
Five Advanced Sewing Techniques You Need to Know
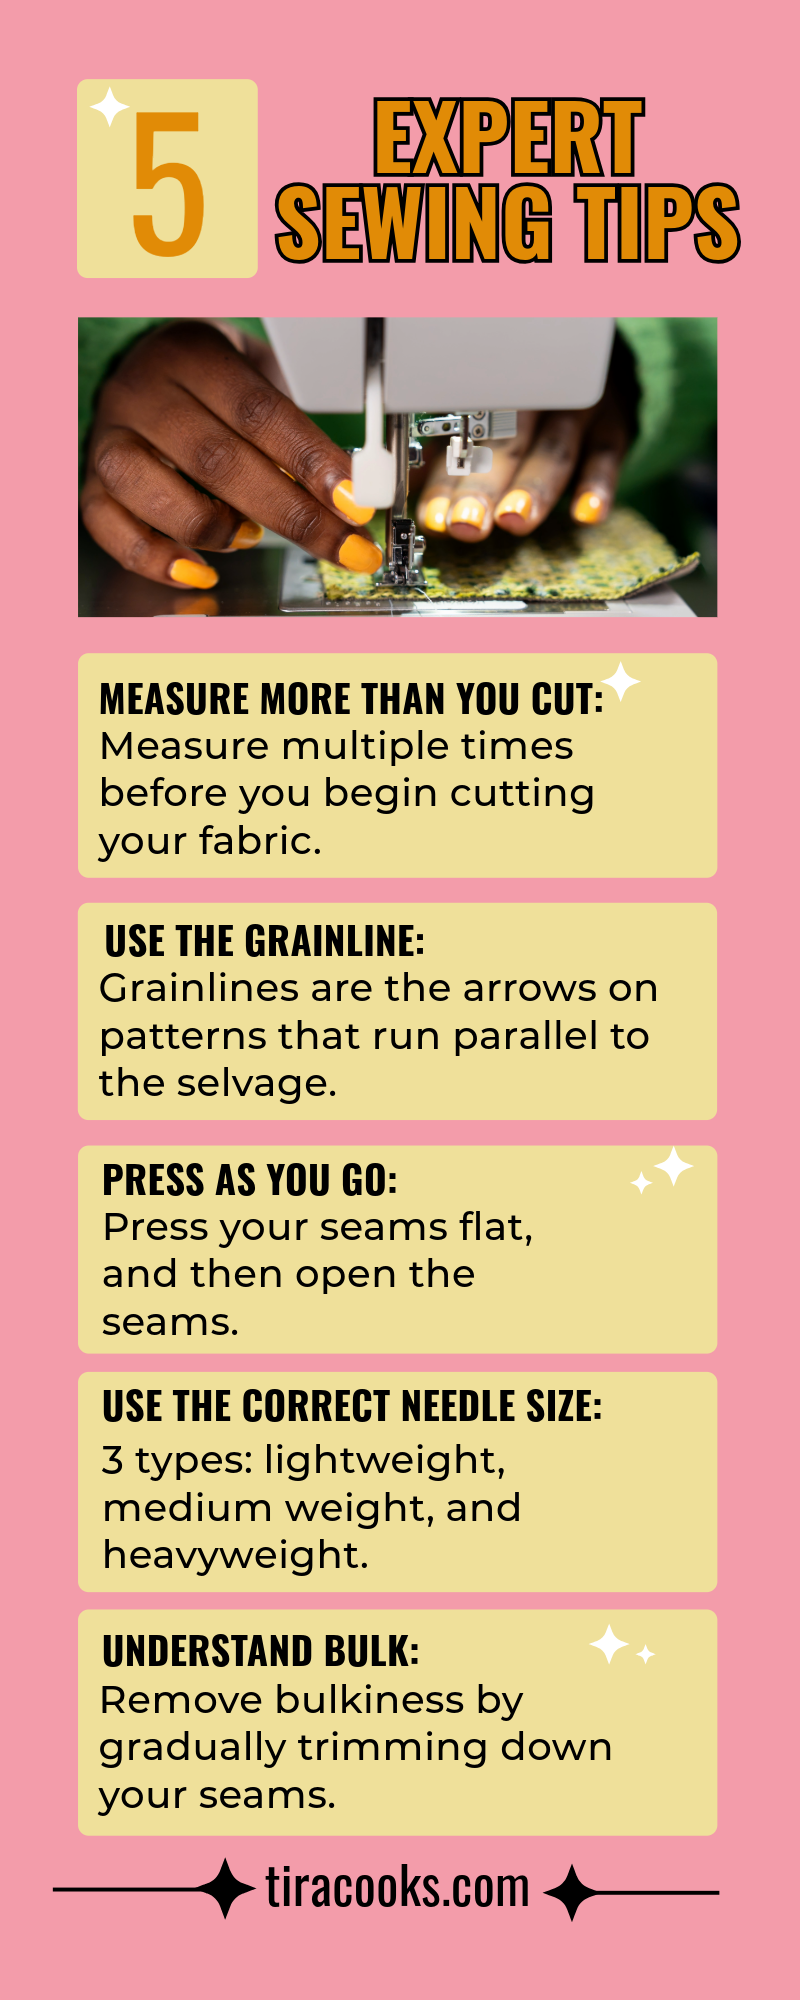
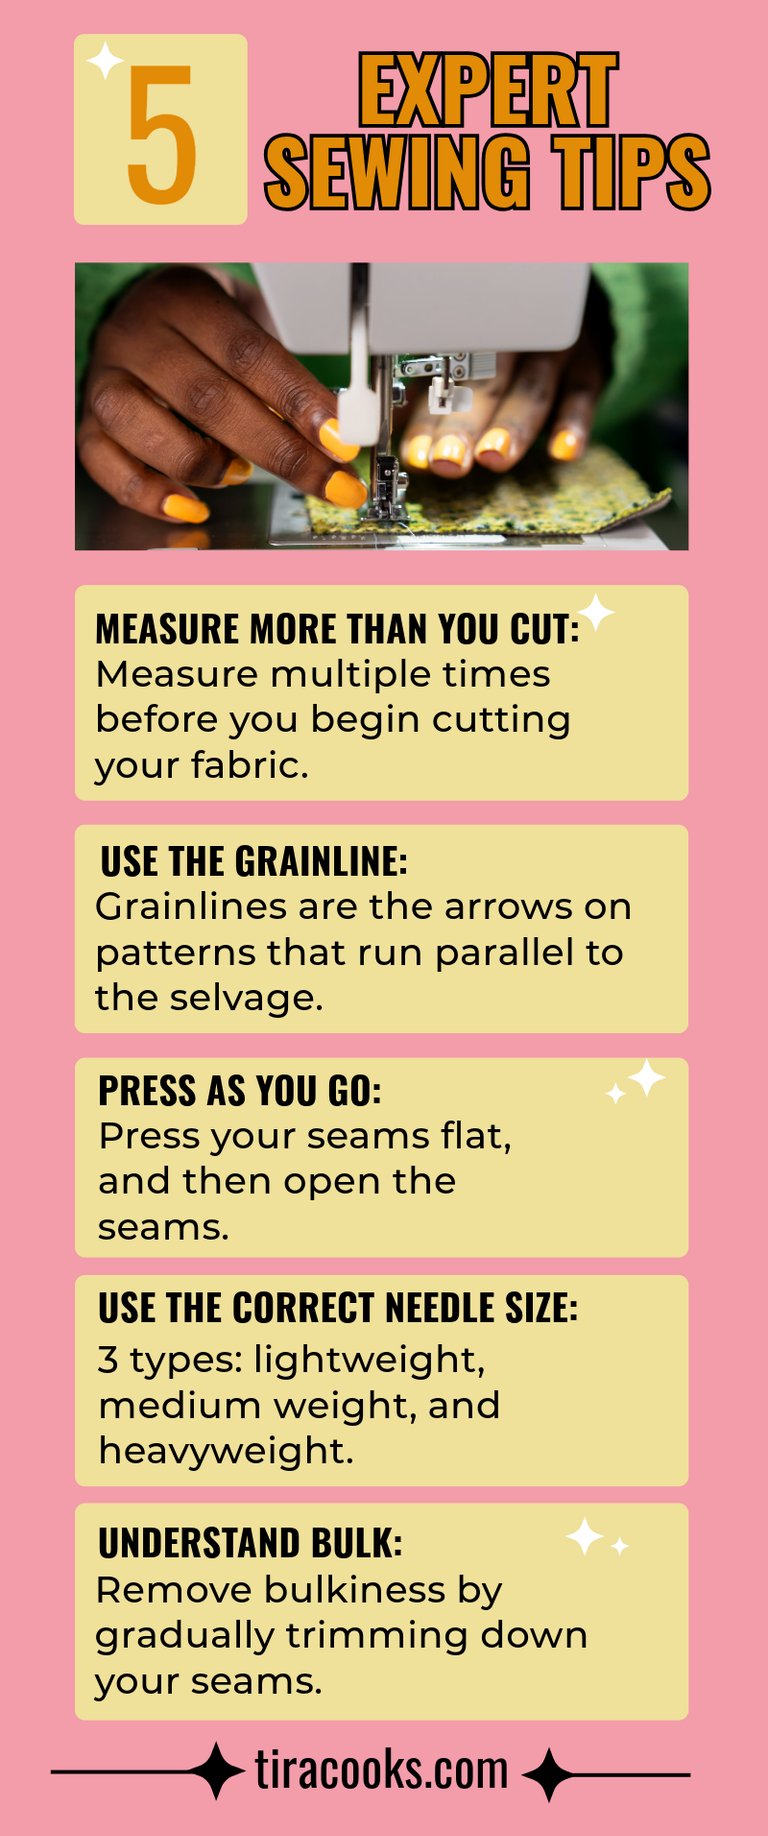
5 EXPERT SEWING TIPS
MEASURE MORE THAN YOU CUT: I emphasize the importance of measuring multiple times before cutting your fabric. Once a piece of fabric is cut incorrectly, it is nearly impossible to salvage. Additionally, ensure that your pattern includes seam allowance; if it does not, you must add the seam allowance before proceeding with the cutting process.
USE THE GRAINLINE: Grainlines are the directional arrows printed on patterns that run parallel to the selvage edge. The selvage edge is the finished edge of the fabric that does not fray when cut. It is important to note that the only time your grainline will shift to a 45-degree angle is when you are cutting along what is referred to as the true bias.
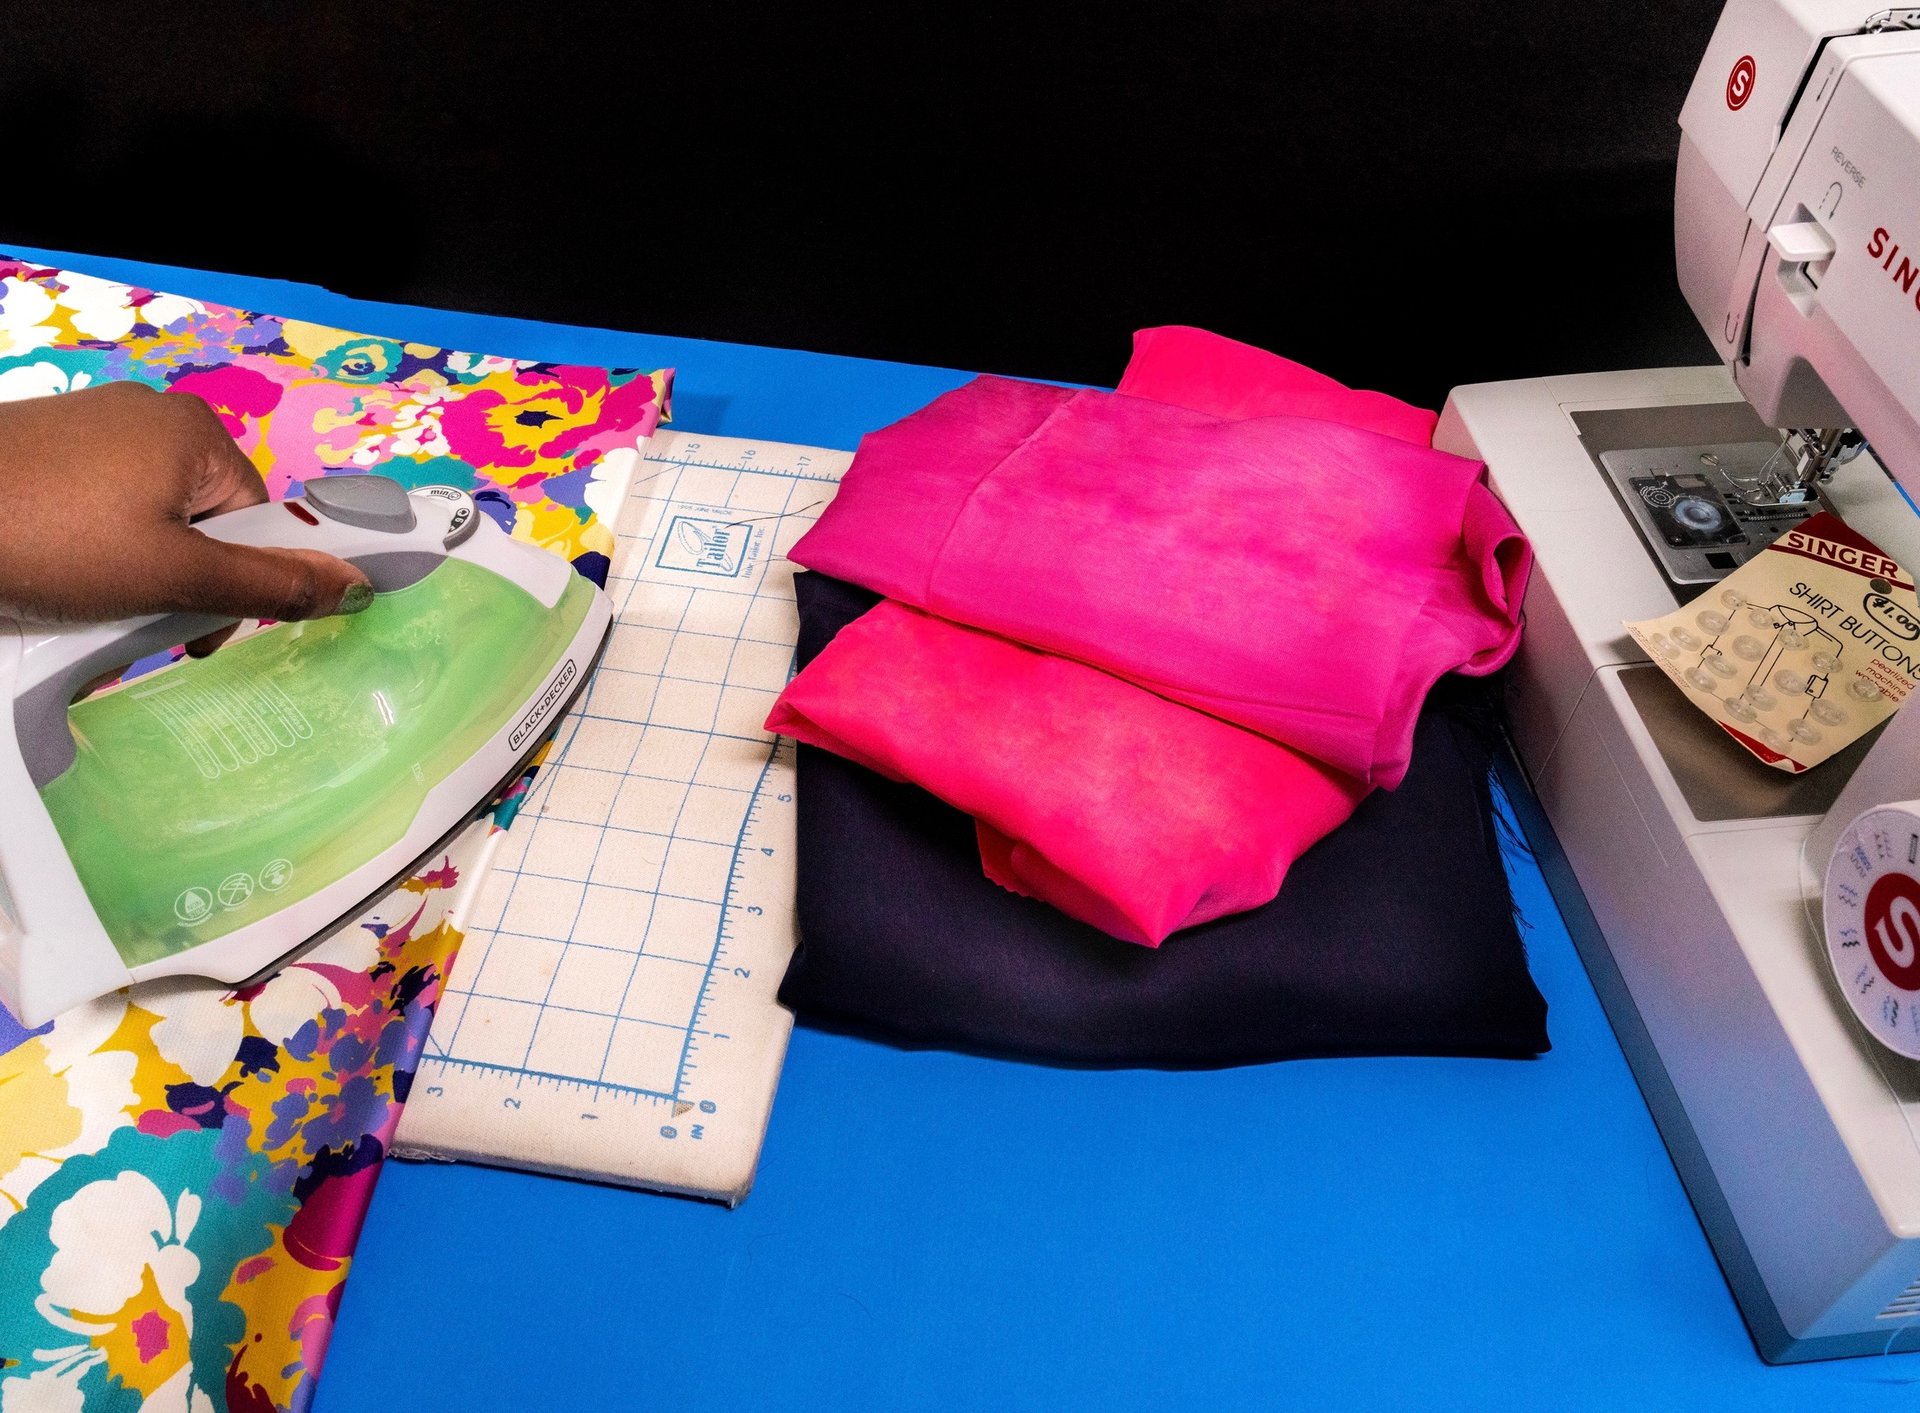
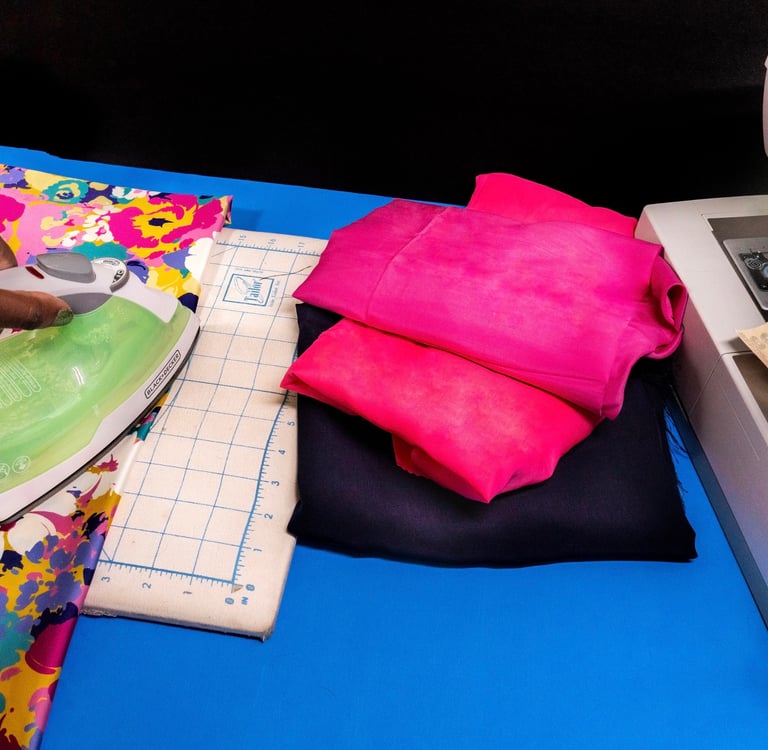
PRESS AS YOU GO: Press your seams flat! If you wouldn't purchase your garment in that condition, don't compromise your work. Embrace the process and avoid skipping the pressing step. It's easier to use the iron after completing each section than to manipulate something bulky later on. Skipping this step can affect the final outcome of your garment, so save yourself the headache and press all your seams thoroughly.
USE THE CORRECT NEEDLE SIZE: There is a specific needle for every type of fabric. While you can use a standard needle for all fabric types, the finish will not be as seamless compared to using the appropriate needle designed for each specific fabric.
UNDERSTAND BULK: You want the inside of your garment to lay flat against your skin if it is exposed or in contact with the lining. The easiest way to achieve less bulk in your seams is to gradually trim down the seams, or if you are fortunate, to serge the raw edges for a clean finish.
Five Sewing Tips From an Expert
Tips to Elevate Your Sewing
To elevate your sewing and achieve a more professional look, you need to ensure that you press out your seams as you go. When purchasing fabric, make sure to select a good quality weight. Pay close attention to measuring the correct seam allowance every time, unless otherwise specified in your pattern instructions. A great way to temporarily hold everything together is to use a basting stitch. My favorite application for a basting stitch is when I am inserting an invisible zipper, as it helps ensure that the zipper will look neat once it is sewn in place.
How to Make Your Sewing Look Professional?
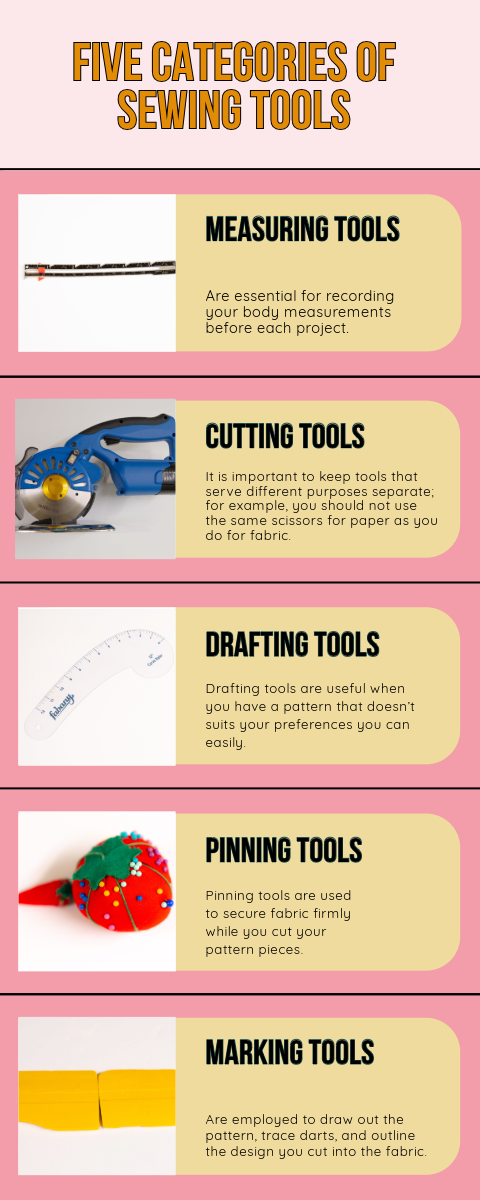

5 CATEGORIES of sewing tools
As you create your sewing space, you will find that many of the tools you use for each project can be categorized into five main types: measuring tools, cutting tools, drafting tools, pinning tools, and marking tools.
MEASURING TOOLS - Are essential for recording your body measurements for each project; you may be surprised at how much your size can fluctuate.
CUTTING TOOLS - It is important to keep tools that serve different purposes separate; for example, you should not use the same scissors for paper as you do for fabric. Remember to maintain this distinction at all times.
DRAFTING TOOLS - Are useful when you have a pattern that doesn’t suits your preferences you can easily.
PINNING TOOLS - Are used to secure fabric firmly while you cut your pattern pieces.
MARKING TOOLS - Are employed to draw out the pattern, trace darts, and outline the design you cut into the fabric.
Your Amazon Shopping List
What are the Five Categories of Sewing Tools?
I don't know about you, but that was a lot of resources I will be coming back to. After understanding the importance of precision and patience in sewing, I have been able to create garments that look more professional. Embrace all your imperfections and be confident in what you sew; many people cannot sew and will be amazed that you were able to create something from scratch. Have fun learning, and don't stop! That is the best part about acquiring a new skill: you are nurturing your positivity. I challenge you to try a technique you are unfamiliar with in your next project. I know I will be sewing some princess seams. I am familiar with them, but there is always room for improvement to achieve better-looking princess seams.